In this blog I show how the SQL Transformer can use a SQL query to extract whatever data you want from a database (data lake, big data store, anything with a JDBC connector) to convert into RDF.
The SQL Transformer allows users to ingest data from SQL Databases with ease. The Transformer is available as a docker image to be used wherever you wish in cloud or on premise.
The sample data is taken from 2 MySQL tables in a database. The first contains IMDB basic title information and the second contains user ratings information about the titles. The CSV file containing the data for the basic title info to be uploaded to your SQL database of choice can be found here and the ratings data here.
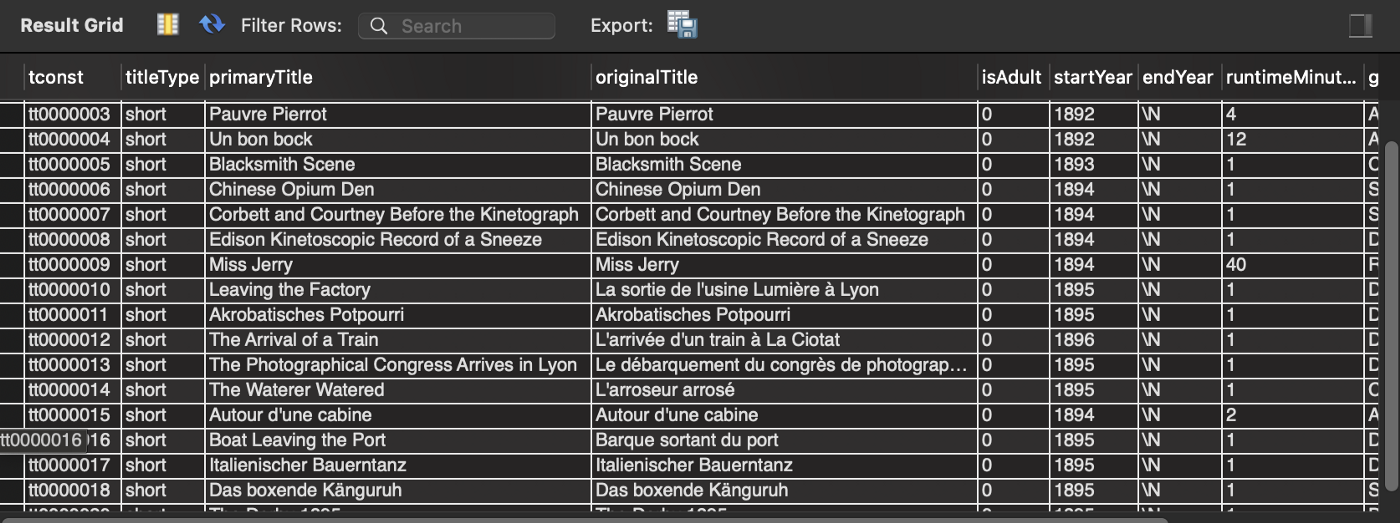
Basic Title Info

Title Ratings Info
To help visualise the mapping between the source SQL and target RDF I have created a simple Ontology. This is not a required step for the transformation but gives a document/diagram describing the RDF model that is helpful to discuss and share. graph.build Studio creates models that replicate or replace your ontology. The source data here is relatively simple consisting of only one object class IMDB:Title with predicates linking to several data type properties I created this Ontology diagram in Lucid Chart:

Now I know how the data is going to be modelled I can move to the next part of the process which is the creation of the transformation.
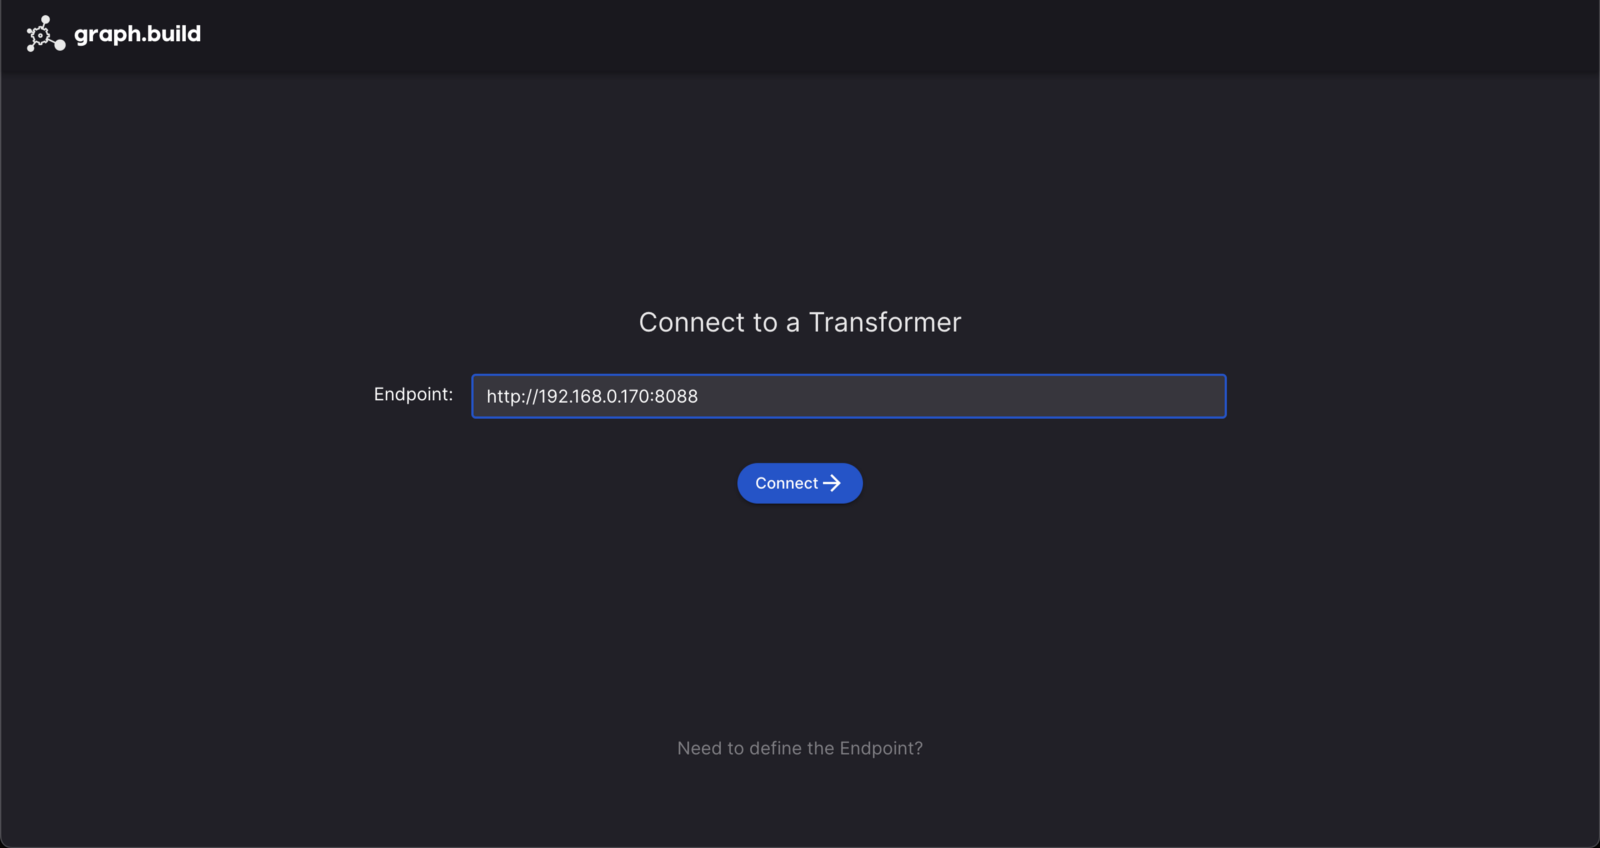
The transformation of data is controlled by graph.build Studio. Starting from the first screen of the studio UI I need to connect to a SQL Transformer which will transforms the SQL data to RDF. I enter the Transformers URL and port to connect to it.
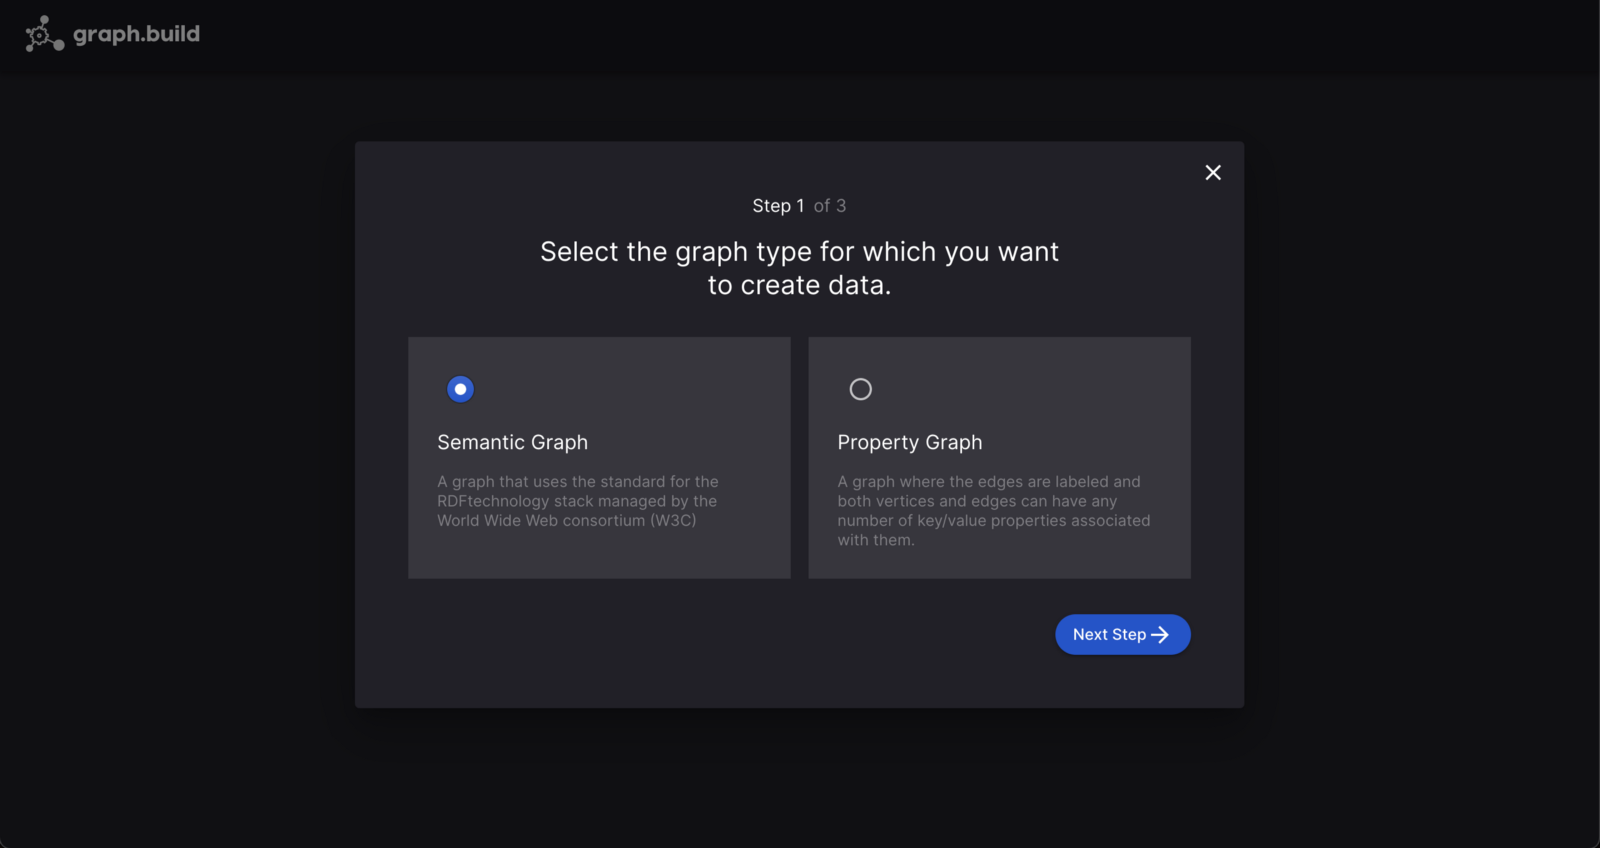
select the graph type I am using which here is RDF
Add the prefixes I want to use

Finally I add the connection details for the database I want to connect to and transform data from.

Now I have entered the database credentials I am taken to the graph design section of the UI.

Here the input section is selected and contains three sections, query, query results and input blocks. First I need to enter a query to select the data I want to transform. The SQL query to use to retrieve data from the 2 tables is below.
SELECT *
FROM titles_basics_small left join titles_ratings_small
on titles_basics_small.tconst = titles_ratings_small.ratings_tconst;
Once the query is run I can view the data it returns in the Query Results section.

The fields from the data are available as input blocks which can be dragged and dropped into the main mapping area of the UI to create graph entities or attributes.
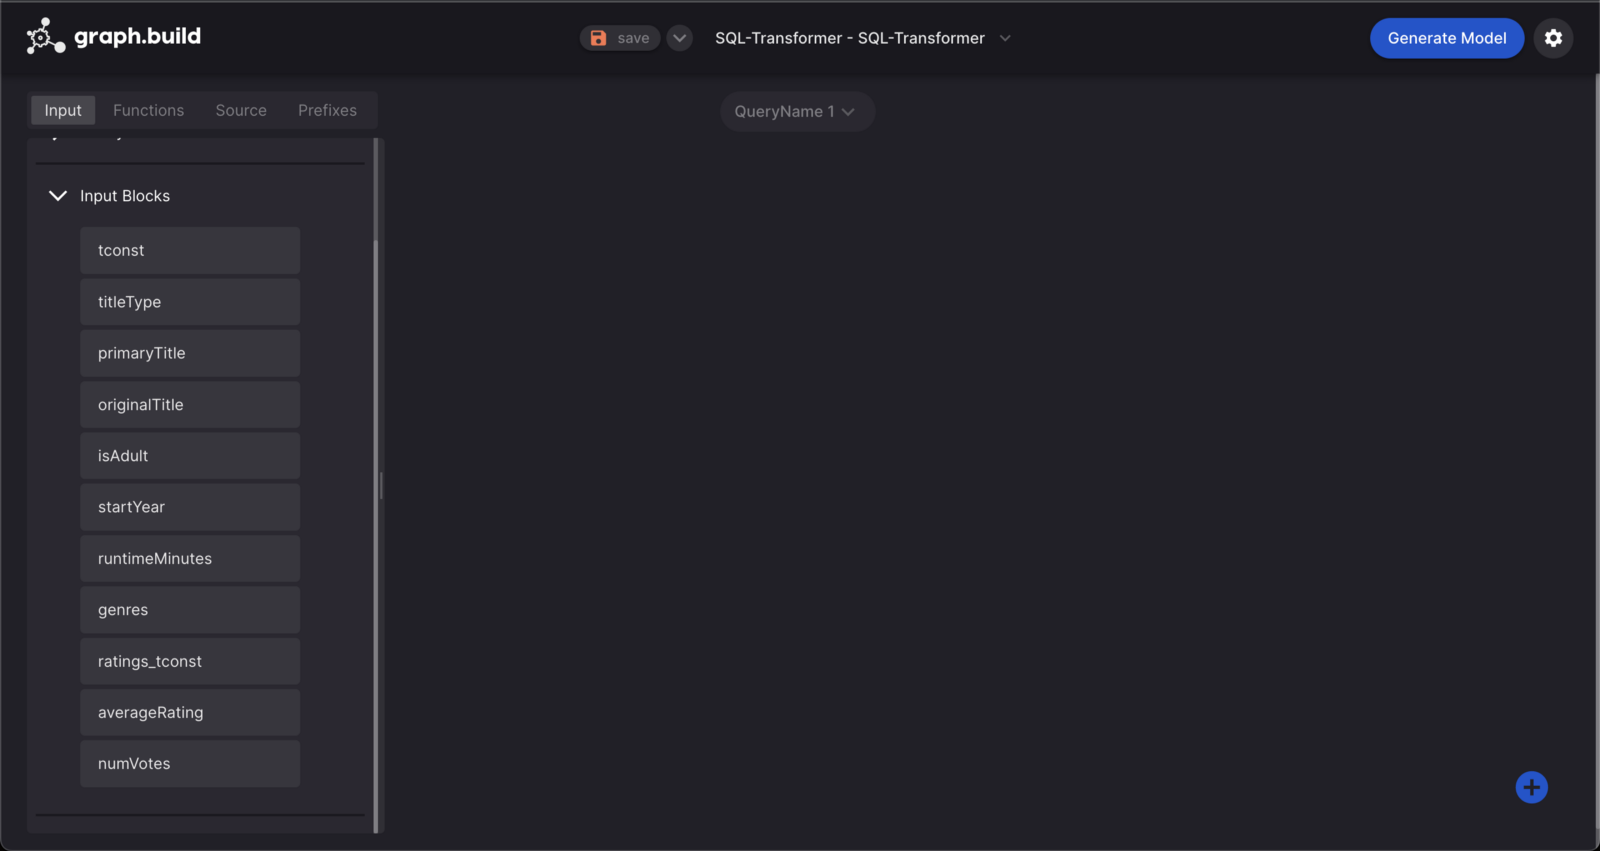
Details on how to create graph diagrams through dragging and dropping components are contained in the blog creating a knowledge graph or any graph model without coding a step by step guide and are also available in the graph.build studio documentation .
Using the input blocks I can create a graph diagram that matches the ontology.

Now the graph diagram is complete I can use “Generate Model” to create the configuration file the Transformer needs to convert the source data into RDF and “Test Model” to see a sample of the RDF that our model creates.

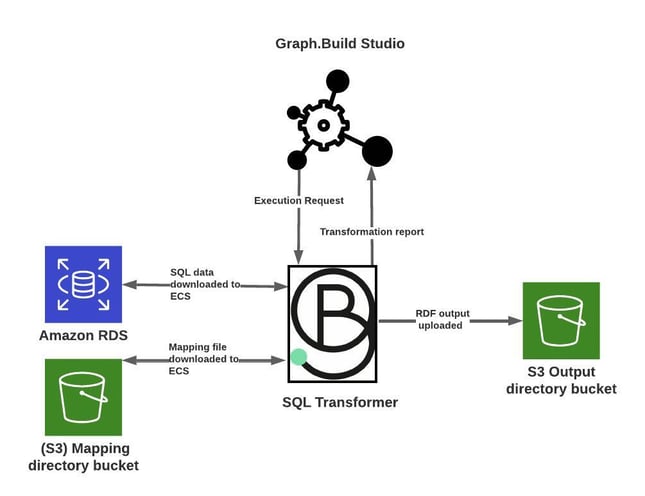
With the source data and a model, I can now use the Semi-Structured Transformer to generate RDF. The below diagram gives a basic overview of how the Semi-Structured Transformer works. The below diagram is using AWS S3 but any file system can be used.
To Execute a transformation from the studio I press the graph icon at the top right of the screen to bring up the Execution window